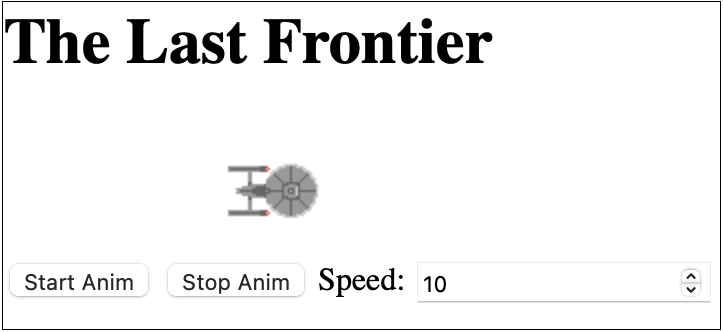
In this exercise, we'll learn more about CSS positioning, as well as putting JavaScript, CSS, and HTML together in a small project. More precisely, we are going to create a web page on which a spaceship will move.
To start, let's create the skeleton of thz project. This time we are going to use a new organization compared to our currency converter, which would be a bit more flexible for larger projects:
In our project, we need three kinds of objects: the document structure, its formatting, and a little functionality. Each of its elements will go into a part of the skeleton of the project that we have just created.
To get started, we need a little canvas to put our spaceship on.
So create the index.html page and add:
head section with a title and a meta
tag specifying the encoding (typically <meta charset="UTF-8">)
head section must also contain a link tag to
specify where the CSS file is located
(e.g. <link rel="stylesheet" href="css/main.css">)
body section containing a block element that will display the
spaceship image
Note that you will need to set the value of the position property of this
element appropriately in the CSS file to allow moving it.
Right now, we have the structure of our page elements, but no formatting. Add CSS selectors to give a size to the canvas and position the spaceship.
The spaceship will move from the left to the right of the page and vice-versa.
Set properties so that the spaceship is centered to the page (tip you'll need
to set top and left and another property)
We now need to animate the spaceship using JavaScript. Write a function that moves the spaceship from the left to the right of the page, and vice-versa once the spaceship has reached the right of the page.
To do so, you'll need to refer to elements in the Javascript (function
getElementById()) and to convert textual values into integers
(parseInt()). Also, note that you cannot retreive the values
of style properties directly (they might not have the correct value) but that
you'll need to call getComputedStyle() first.
setInterval() or setTimeout() can be used to run the
animation (you can implement both solutions to see the difference).
Don't forget to add a script tag in your HTML file so that it can
load your Javascript code.
We now need a means to start the animation. First, add a
button that starts (or resumes) the animation and another button
that stops it (depending on how you wrote your animation function
this will be trivial or slightly more complicated).
Finally, we would like the animation to be automatically started when the page
is loaded (tip: the onload event can help).
For more complex pages, browser security restrictions may prevent us from loading certain elements of the pages. To avoid this, we'll need to go through a web server, running on our computer.
To do this, we can use a module from the standard Python language library.
First we need to navigate from the console (using the cd command).
In the root folder of your project, run one of the following commands,
depending on the version of Python on your system.
Warning: only use this command in your project folder, as it would give anyone access to all files in the folder and subfolders from where you run it. For our project, this is trivial. If you run it in your main folder, it could be a security risk.
     python -m SimpleHTTPServer 8080


     python -m http.server 8080
The first command is for Python 2, the second for Python 3.
Once the command is launched, you can navigate to http://localhost:8080
to access all the files in your project folder.
Remember that index.html is the page given by default when loading a file.
That is, http://localhost:8080/ and http://localhost:8080/index.html
are equivalent and correspond to the index.html file in the root folder of your project.
Math.random() might be useful).
onclick event (or, equivalently, call
element.addEventListener('click', fun), where fun
is the called function).